You can issue a MyOTCO account to anyone associated with your file. They will be given a MyOTCO login and have access to your account anytime. To issue access, please follow the steps outlined below.
To add a new user to your MyOTCO complete the following steps:
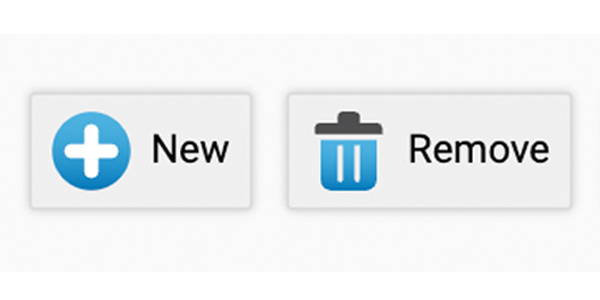
- select “new” to add a new user.
- Complete the required information (name and email).
- Allow manage user” grants the user you’re adding the ability to add other users. You do
- not have to check this unless you want the new user to be able to also add new users.
- Select “save” and close.
To activate the User’s access, complete the following steps:
- In the next window, select the box next to the user you just added, which will be indicated with a gray icon.
- Once selected, options appear above. Select “Issue web access” to send the new user a welcome email and grant them access.
If you’ve never set up your MyOTCO account, contact your Client Services Team.
All-in-One
MyOTCO Guide
In this guide, we explain how to navigate through and utilize the MyOTCO platform.